

How-To: Sizing, Hanging & Arranging
Hanging Art on Brick Walls, Plaster & More
Brick, plaster, concrete, and tile can all hold art well — each just insists on its own fixing. Identify the material first and let the wall, never habit, decide the hardware.
Key Takeaways
- On brick, drill into the mortar joints, not the brick faces: mortar is softer, takes a masonry bit and wall plug willingly, and can be repointed invisibly, while a hole in a brick face is forever.
- On lath-and-plaster, prefer fixings that spread load behind the surface, like toggle and molly-style bolts, and drill with steady pressure and no percussion, since hammer action shakes plaster loose from the lath.
- On concrete and block, use a hammer drill with a carbide-tipped masonry bit and fixings rated for concrete, marking depth on the bit with tape so every hole matches its anchor.
- On tile, drill the glaze slowly with tape to stop the bit wandering, and size the anchor to grip the substrate behind it — tile alone holds almost nothing and cracks if asked to carry load.
- Test one fixing with a firm downward pull at more than the piece's weight before drilling the second, and use no-drill fallbacks — brick clips, rails, ledges, leaning — where drilling is forbidden.
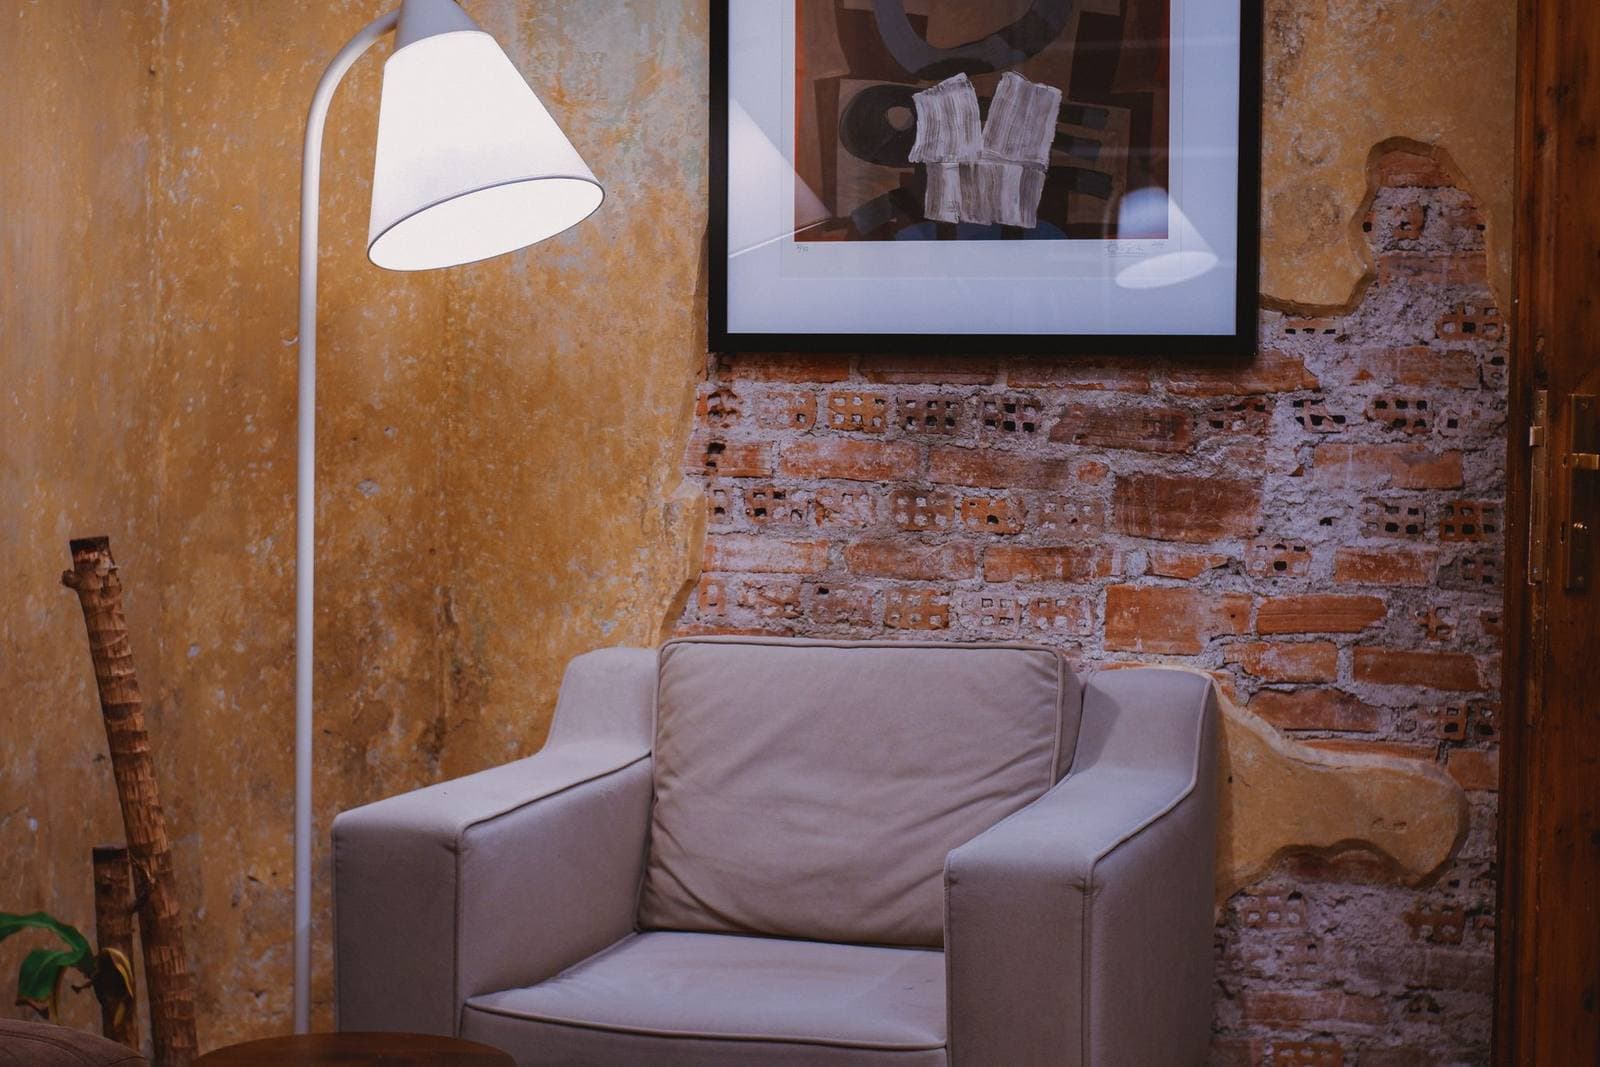
Standard hanging advice assumes a standard wall: drywall over evenly spaced studs, forgiving to drill and easy to patch. A great many walls decline to be standard. Brick laughs at ordinary screws; old plaster crumbles around fixings that drywall would shrug off; concrete demands real tools; tile punishes a wandering drill bit in public. Each of these walls can hold art beautifully — hanging art on brick walls, plaster, concrete, and tile included — generations of galleries in brick warehouses and plastered townhouses prove it — but each insists on being fastened to in its own way. The first skill is knowing which wall you actually have: its age, a tap test (hollow and light suggests board; dense and unyielding suggests masonry), and what a discreet test hole in a hidden corner reveals will tell you more than the paint color does.
Hanging art on brick walls: mortar joints or brick clips
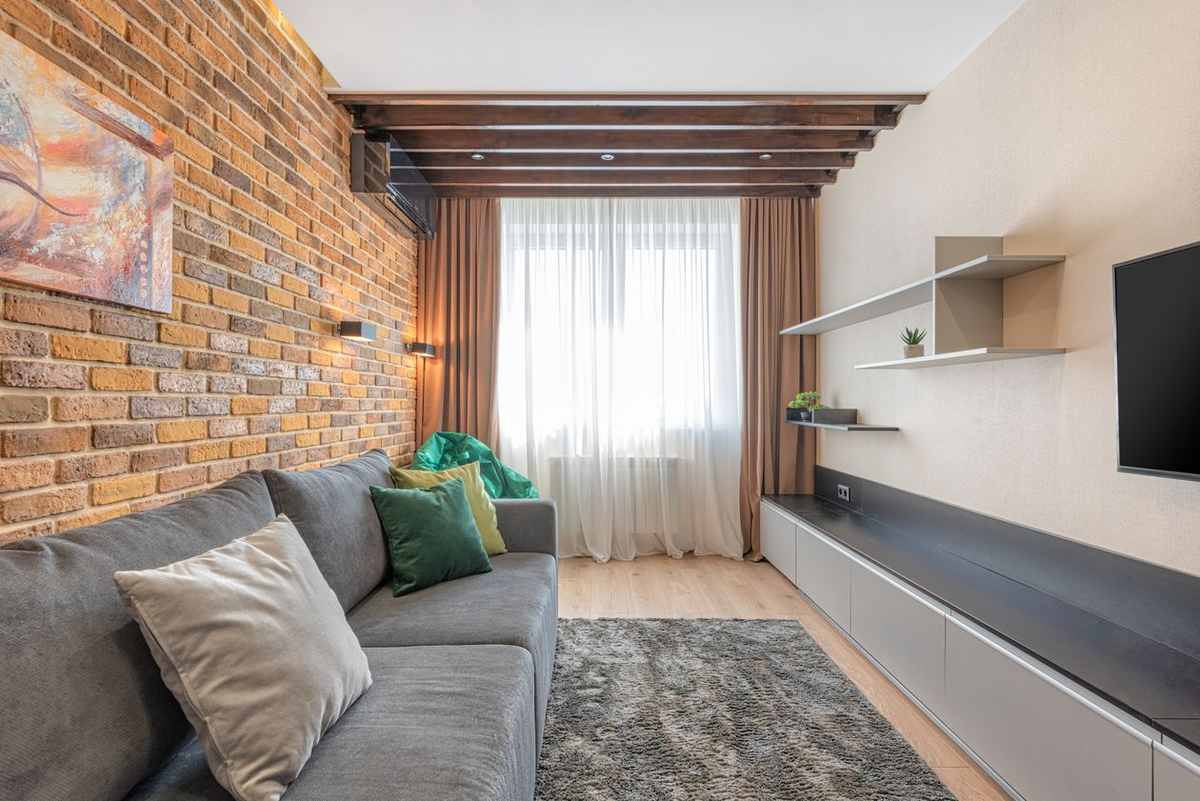
Brick itself is hard, brittle, and — in an exposed feature wall — the very thing you are showing off. The fixing rule follows from that: drill into the mortar joints, not the brick faces. Mortar is softer, takes a masonry bit and a wall plug willingly, and can be repointed invisibly if the art ever moves; a hole in a brick face is forever. Use a hammer drill on its percussion setting with a masonry bit, drill into the joint to the depth the plug wants, and choose fixings rated for masonry — the piece’s weight decides how many, and spreading a heavy frame across two joints’ worth of fixings is always wiser than one. If drilling is forbidden or the brick is historic and soft, there is a genuinely no-drill option: brick clips — sprung steel hangers that grip the brick’s face where it stands proud of the mortar — hold modest pieces with no hole at all, though they want sound, square bricks and a realistic sense of their limits. For genuinely heavy pieces on any wall, hanging heavy art safely covers studs, anchors, and cleats in depth.
Lath-and-plaster: the wall that crumbles politely
Houses built before roughly the 1950s often wear plaster over wooden lath, and plaster’s personality is brittle: it holds a screw beautifully in solid material and disintegrates around one drilled carelessly. Stud finders struggle through it, and stud spacing follows older habits, so expect to hunt. Two principles keep plaster kind. First, prefer fixings that spread load behind the surface — toggle and molly-style bolts that open or expand behind the lath grip the wall’s structure rather than a plug of crumbly plaster. Second, drill with a sharp bit at steady pressure and no percussion; hammer action is what shakes plaster keys loose from the lath beyond the hole, the first step toward a crack. Many plaster-era houses also carry a gift: a picture rail, the molding near the ceiling from which art was traditionally hung on wires or cords. If yours has one, hooks over the rail let you hang, level, and rearrange with no new holes at all — the wall’s own original answer to its own fragility. Our frequently asked questions keep the principle-level version of this: the wall decides the fixing, never the other way round.
Concrete and block: bring the right drill
Poured concrete and concrete block are the strongest walls you will ever hang on and the least forgiving to attempt with the wrong kit. A standard drill will polish a dent and burn its bit; the job wants a hammer drill with a carbide-tipped masonry bit, patience, and a vacuum nearby because the dust is relentless. Into the hole go fixings made for the material: sleeve anchors, masonry screws, or plugs rated for concrete, tightened to their maker’s instruction — concrete rewards precision, because a hole drilled oversize in it cannot be persuaded to grip. Mark depth on the bit with tape so every hole matches its anchor, and keep pieces genuinely heavy on two or more fixings. The reward for the effort is permanence: a concrete fixing, correctly set, is about the most secure hanging in a home.
Tile: the veneer problem
A tiled wall is really two walls: a hard, brittle glaze you can see, and the substrate behind it doing the actual holding. Drilling tile succeeds when it respects both — a carbide or diamond bit, tape on the glaze to stop the bit wandering at first contact, slow speed and light pressure until you are through the tile, and only then normal drilling into what lies behind. The anchor must be sized to grip the substrate, not the tile: tile alone holds almost nothing and cracks if asked to carry load. Because a cracked tile is a permanent regret, light pieces on tile are often better served by the no-drill routes — and in an entryway or bathroom where tile rules, one strong fixing planned carefully beats three attempted hopefully.
A short tools-and-technique checklist
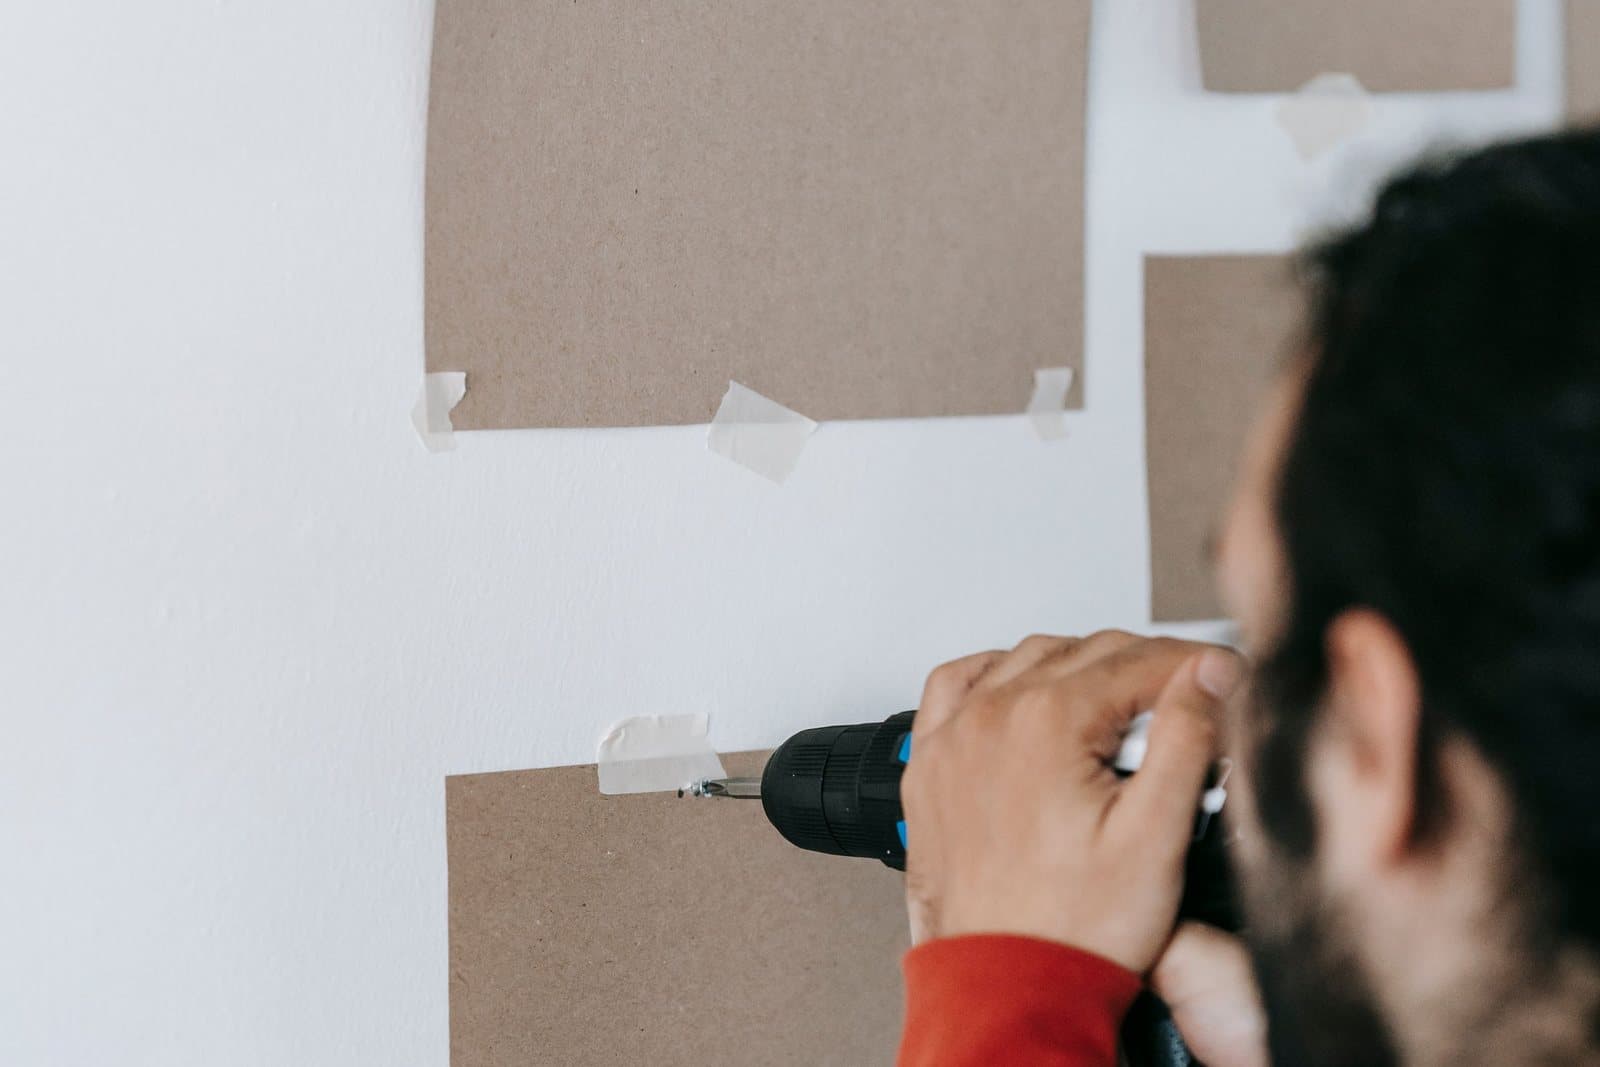
Tricky walls punish improvisation, so assemble the kit before the first hole: a hammer drill with a percussion setting and carbide-tipped masonry bits in the sizes your plugs specify; the plugs and screws matched to the material — masonry, board, or plaster are different species, however similar the packets look; a stud finder and a strong magnet for the timber walls; painter’s tape for marking without pencil scars and for catching a tile bit’s first wander; a level; and a vacuum, because masonry and plaster dust migrate everywhere and grit under a leaning frame’s foot is its own small disaster. Technique matters as much as tools. Mark the spot, check what runs inside the wall near it — cables and pipes travel predictably from outlets and fixtures, and predictable is not the same as guaranteed — then drill a single fixing, set it, and hang-test it with a firm downward pull at more than the piece’s weight before drilling the second. One verified fixing teaches you the wall’s mood; the second is then a repetition, not a gamble. Work clean and stop at resistance you do not understand: an unexpected void, a sudden change in the dust’s color, or a bit that grabs is the wall asking you to reassess, and reassessment is cheaper than repair.
Leaving gracefully: patching tricky walls
Part of hanging well on a tricky wall is knowing the exit. Mortar holes repoint with matching mortar mix and vanish; plaster takes patching compound in thin layers, sanded between, and disappears under paint; drywall anchors leave a spackle-sized apology. Tile is the exception that argues for planning: a drilled tile is drilled forever, patched only by replacement, which is why tiled walls deserve the longest pause before the drill and the most serious consideration of the no-drill routes below. Knowing the exit cost in advance — trivial for mortar, real for tile — is not pessimism. It is how the hole you drill is the hole you meant, in the place you meant it, the first time.
Hanging art on brick walls without drilling: the fallbacks
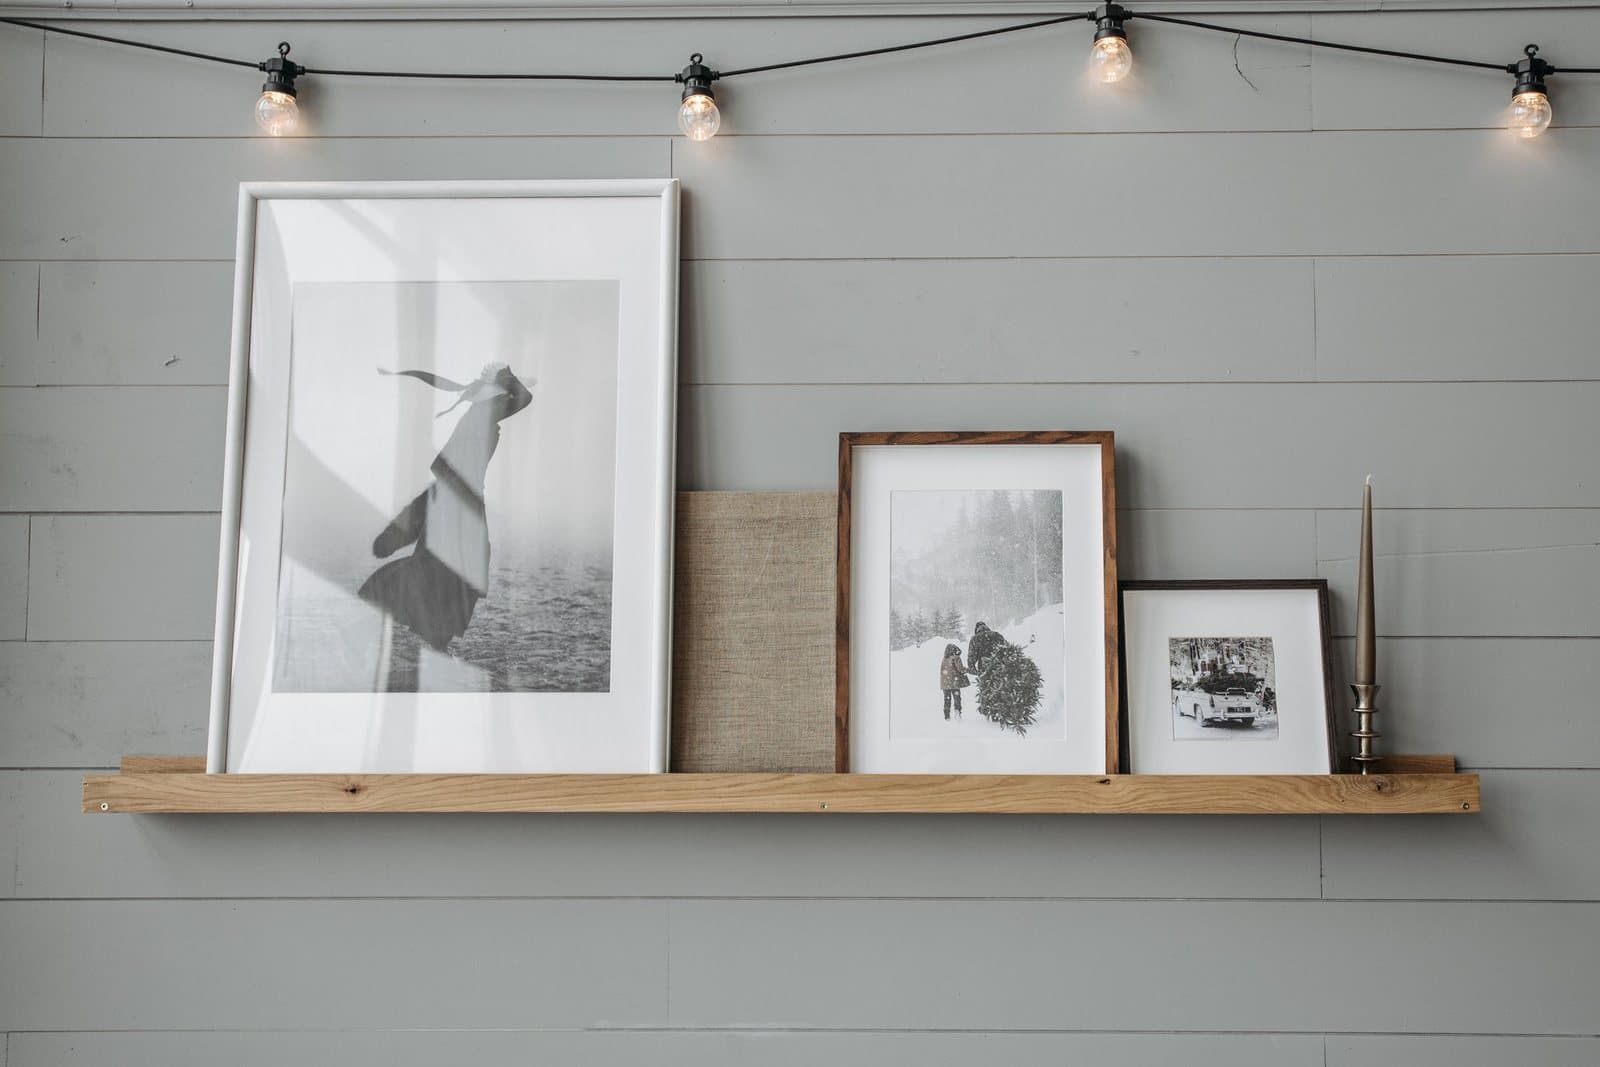
When a tricky wall must not be drilled at all — a rental, a historic surface, a landlord with opinions — the fallbacks are the ones covered in the no-nails hanging methods: picture rails and their hooks where the architecture provides them, picture ledges that lean art and need only their own few fixings, frames leaned on furniture entirely hole-free, and adhesive systems within their honest weight limits on sound, smooth surfaces. What none of them do is repeal physics: a heavy piece on a fragile wall wants a structural fixing or a professional’s visit, and the honest response to a wall that defeats you is to move the art, not to hope harder. Which pieces, at what size, is the other half of the plan — sizing art for your wall covers the ratios. Hanging art on brick walls rewards the patient — identify the material, match the fixing to it, test before you trust — and the right pieces for your wall are waiting at the shop once the wall has told you what it can hold.
More in How-To: Sizing, Hanging & Arranging
Continue exploring: How-To: Sizing, Hanging & Arranging guides · All guides