

How-To: Sizing, Hanging & Arranging
How to Hang a Gallery Wall: Templates First
Treat ten frames as one hanging, not ten separate ones. Paper templates that know where each hook lands let you fix every mistake while it is still only tape.

Key Takeaways
- Make full-size paper templates for every frame and mark each hook point as a crosshair, measuring the drop from the frame's top edge to its D-ring, taut wire apex, or sawtooth notch.
- Center the whole arrangement first: on a bare wall its bounding box centers at 57 to 60 inches, and a 60 by 40 inch footprint centered at 58 runs from 38 to 78 inches.
- Tape the center or largest piece's template first as the anchor, then grow outward measuring the gap edge to edge and keeping it consistent in the 2 to 3 inch band.
- Transfer each crosshair to the wall, hang and level in the same center-out order, add felt bumpers to bottom corners, and correct a quarter-inch drift as soon as you spot it rather than at the last piece.
- Leave errors under about an eighth of an inch alone, recheck level after a week as wire settles, and if the wall vetoes a position, shift the whole row or column uniformly — never just one piece.
Hanging a gallery wall is not ten small hangings; it is one hanging with ten pieces, and it succeeds or fails on transfer — getting the arrangement you approved on the floor onto the wall without it wandering. The method below is the one installers use: paper templates, one consistent spacing, a center-first order, and a standing rule about when to stop and fix a drift. Assume the design is decided — the gallery wall layout guide in this series covers the deciding. Today is execution: how to hang a gallery wall, step by step.
The kit
Kraft paper or a roll of painter’s paper, painter’s tape, a pencil, a tape measure, a level, a hammer and the hooks called for by choosing picture hardware, felt bumper pads, and a step stool. A second person is not equipment, exactly, but treat them as required: gallery walls are judged from across the room, and you cannot be across the room and on the stool at the same time.
How to hang a gallery wall, step one: templates and hook marks
Trace every frame onto paper, full size, and cut the templates out. Then — the step that makes the whole method work — mark on each template the exact point where its hook will bear. Measure on the real frame: from the top edge down to the hanging point (a D-ring’s top, or a wire’s apex pulled taut as it will hang, or a sawtooth’s notch). That distance is the drop. Transfer it to the template as a clear crosshair, drop measured from the template’s top edge, centered or offset exactly as the frame’s own hardware is. A template without a crosshair is just a rectangle; with one, the wall can be marked without the art ever leaving the floor. For two-ring frames, mark both drops — the rings are rarely at identical heights, and the template should carry the truth, not the hope.
Step two: tape the wall, center piece first
Decide the arrangement’s total footprint and its center, the way the height guide in this series prescribes: on a bare wall, the bounding box centers at 57 to 60 inches. Worked example: a planned footprint 60 inches wide by 40 inches tall, centered at 58, runs from 78 inches at the top to 38 at the bottom, 30 inches to each side of its center line. Tape the center or largest piece’s template exactly there first. It is the anchor; every neighbor will be measured from it, so it earns five extra minutes with the level and the step-back test. In an entryway, where the wall is seen in passing at close range, that anchor piece does the greeting — another reason it hangs first and hangs true.
Step three: grow outward at a measured gap
Add templates piece by piece, working outward from the anchor in both directions, and measure the gap edge to edge between templates — never center to center, which hides the arithmetic inside two different frame widths. Keep the gap in the house band of 2 to 3 inches and keep it consistent; a wall hung at a steady 2.5 reads as one intention, while gaps wandering between 2 and 4 read as ten separate decisions. Check the growing arrangement against the plan as you go: after every two or three templates, your second person views it from the room’s real vantage — seated, or from the doorway — and calls drift while it is still a tape problem. Square pieces in a grid are the least forgiving of gap drift, salons the most — but no grammar forgives a gap that changes because nobody measured.
Step four: transfer, hang, level
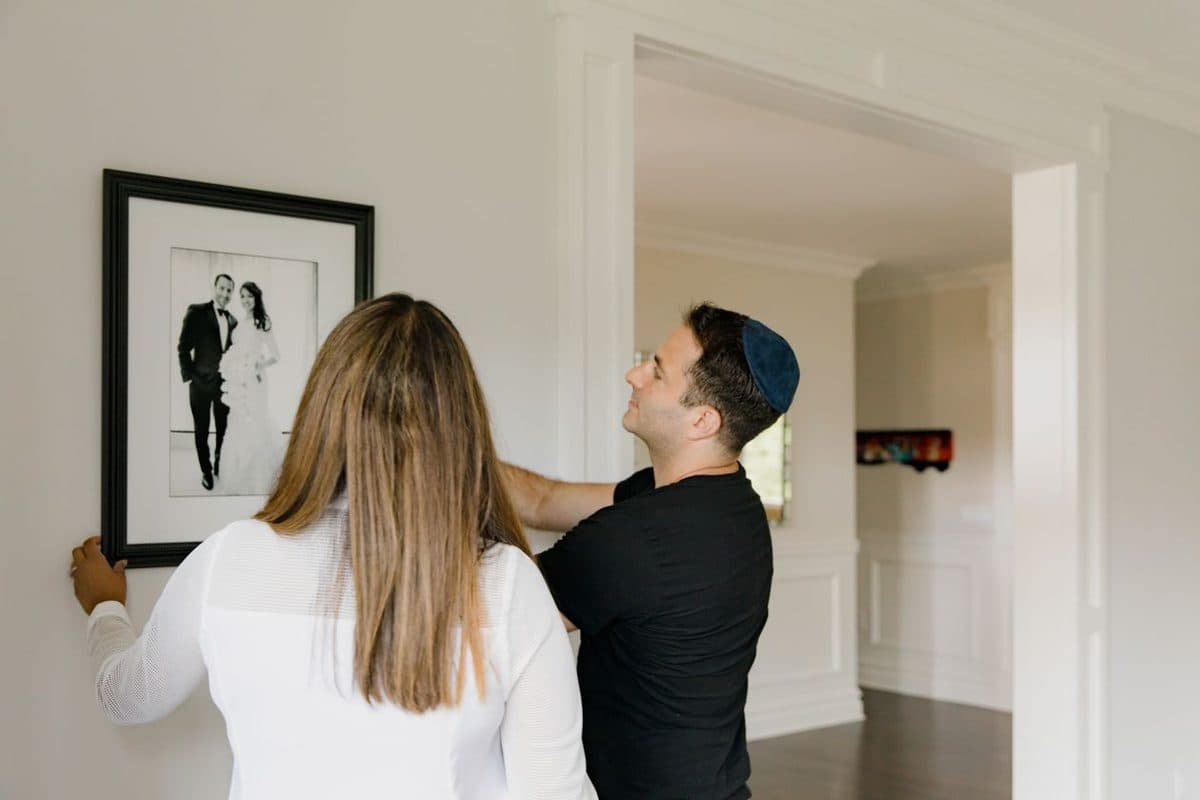
With every template taped and approved, transfer each crosshair to the wall: push a pin or awl through the paper at the mark, or pencil through a small slit. Remove the template, install the hook on the mark, hang the piece, and level it. Stick two felt bumpers on the frame’s bottom corners — they keep pieces from creeping crooked on smooth walls and are the difference between a wall that stays level and one that needs monthly straightening. Hang in the same center-out order you taped in. After each piece, step back to the vantage point, not just for beauty but for error control: if piece four sits a quarter inch off its template line, correct it now, at the cost of one hook moved. The same drift discovered at piece nine costs a wall of holes.
Grids get a chalk line; studs get a vote
A grid is the one grammar that repays a stricter setup. Before templating, snap or pencil two reference lines on the wall: the arrangement’s top edge, dead level, and its vertical center line. Every template then registers against a line instead of against a neighbor’s possibly-drifting edge, and errors stay local instead of compounding across the row — a row hung neighbor-to-neighbor can accumulate a quarter inch of drift per piece and finish an inch proud of its plan; a row hung to a level line cannot. Salons and asymmetric walls can live without the lines; grids cannot. Then, reality: a hook sometimes wants to land exactly on a stud, a pipe, or an outlet’s box. When the wall vetoes a position, move the whole row or column by the needed amount — an eighth or a quarter inch, uniformly — never just the one piece. A uniform shift is invisible; a single shifted piece is a typo in the middle of a sentence, and it is the first thing every future viewer will read. If holes are not an option at all, hanging pictures without nails covers the adhesive, rail, and ledge routes — with their weight limits stated plainly.
Keeping it level after you leave the room
Freshly hung walls settle. Wire stretches a fraction in its first weeks under load, bumpers compress, and a door that slams daily negotiates with every frame near it. Build the follow-up into the job: a week after hanging, walk the wall with the level once more, re-seat any wire that has crept on its hook, and replace any bumper that has slid. Pieces on two D-rings rarely move at all — one reason two-point hanging is worth its extra measuring on the pieces you most want to forget about — while single-wire pieces in busy hallways earn a monthly glance in passing. None of this is maintenance so much as the final five percent of the hang itself, scheduled honestly.
Fixing small errors without starting over
Errors under about an eighth of an inch are invisible at viewing distance and should be left alone — chasing them multiplies holes. Errors in the quarter-inch range are usually fixable within the hardware: nudge the piece on its hook, re-seat a wire ring, or move a single hook and let the frame itself cover the old hole (frames are generous that way — a hole behind a frame is a hole nobody will meet). Spackle true strays at the end, once, when the wall is final. And keep one template habit to the last piece: never hang the final frame directly from measurements taken at the start of the day. Re-measure from the pieces already hung. Walls are finished from their neighbors, not from memory — the readers who write to our FAQ about crooked gallery walls almost always skipped a template, and the wall remembers it for them.
The order of operations, whole job
Sequenced, the full hang reads: templates traced and crosshaired on the floor (measure every drop now, frames in hand, not from memory); footprint and center decided and taped; anchor template placed and judged from the vantage point; remaining templates grown outward at the measured gap, with a step-back every two or three; the whole paper wall lived with for an hour or a day if doubt lingers; marks transferred; hooks installed in center-out order; pieces hung, leveled, and bumpered in the same order; a final step-back with the room’s lights as they will be in the evening. Each stage is cheap to redo; each stage skipped makes the next one expensive. That is the entire secret, and it scales from four frames to forty.
How to hang a gallery wall: the patience rules
Three, and they are the whole temperament of how to hang a gallery wall. Stop when tired: the piece hung in a hurry at the end of the day is the crooked one, and templates wait overnight without complaint. Never skip the step-back: every piece gets judged from where it will be lived with. And spend your care in proportion to permanence — a salon can absorb an eighth of an inch and a grid cannot, so hang your strictest grammar while you are freshest. A gallery wall hung this way is not fussy work. It is ordinary work, done in the right order, with the measuring done by paper instead of by hope.
More in How-To: Sizing, Hanging & Arranging


Continue exploring: How-To: Sizing, Hanging & Arranging guides · All guides