

How-To: Sizing, Hanging & Arranging
How to Measure a Wall for Art in Five Steps
Fifteen unhurried minutes with a tape beats ordering from memory. Measure what the art can actually occupy, tape it, photograph it, and write the numbers down.
Key Takeaways
- Measure the usable width, not the full wall: subtract door casing, window trim, and corners — a 144-inch wall with a 44-inch cased doorway leaves 100 usable inches, so 60 to 75 inches of art presence.
- Measure all art heights up from the floor, never down from the ceiling, because floors and ceilings are frequently not parallel and eye level is defined from the floor.
- Tape the finished footprint — the outside of the frame, not the listing's image size — at the exact hanging position, then check it from the doorway and from where you sit over a full day.
- Photograph the tape with an object of known size to check scale: if an 80-inch door spans 640 pixels and the rectangle spans 300 pixels, the rectangle is 37.5 inches wide.
- Write one note per wall with full and usable width, ceiling and furniture heights, obstructions measured from the nearest corner, and the target center — 57 to 60 inches on a bare wall, or 6 to 10 inches above furniture.
Almost every art regret begins as a measuring shortcut: the wall eyeballed from the doorway, the sofa’s width remembered rather than taken, the size chosen off a product photo. Measuring properly takes fifteen minutes and a tape, and it produces a short list of numbers that makes every later decision — size, height, configuration — nearly mechanical. Here is the full routine for how to measure a wall for art, in order.
Step one of how to measure a wall for art: usable width
Walls are never as wide as their drywall. Measure the full wall, then subtract everything the art can never occupy: door casing, window trim, the corner where another wall turns. A worked example: a wall measures 144 inches, wall to wall. A cased doorway at one end accounts for 44 inches, trim included. The usable stretch — the span where art can actually live — is 100 inches, and that, not 144, is the number every sizing rule runs on. Against 100 usable inches, the familiar fill guidance (art occupying roughly 60 to 75 percent of the available width, as our wall art size guide in this series lays out) means 60 to 75 inches of art presence — one large piece, or a planned group. Measure at art height, not at the floor: walls with chair rails, radiators, or wainscoting can offer less room at 50 inches up than at the baseboard. When that usable span is genuinely big, decorating a large wall — one oversized anchor versus a group — takes the numbers from here.
Step two: take the heights — from the floor, always
Record the ceiling height, then the top height of every piece of furniture the art relates to: sofa backs commonly 30 to 38 inches, headboards, sideboards, consoles. Note the baseboard height too (usually 3 to 6 inches) if pieces will hang low. One discipline governs all of it: measure art heights up from the floor, never down from the ceiling. Floors and ceilings are frequently not parallel — in older houses, not close — and eye level is defined from the floor a viewer stands on. A center marked 58 inches down from a sloping ceiling can land two inches off the same center marked from the floor two rooms away; from the floor, it is the same everywhere in the house.
Step three: tape the footprint
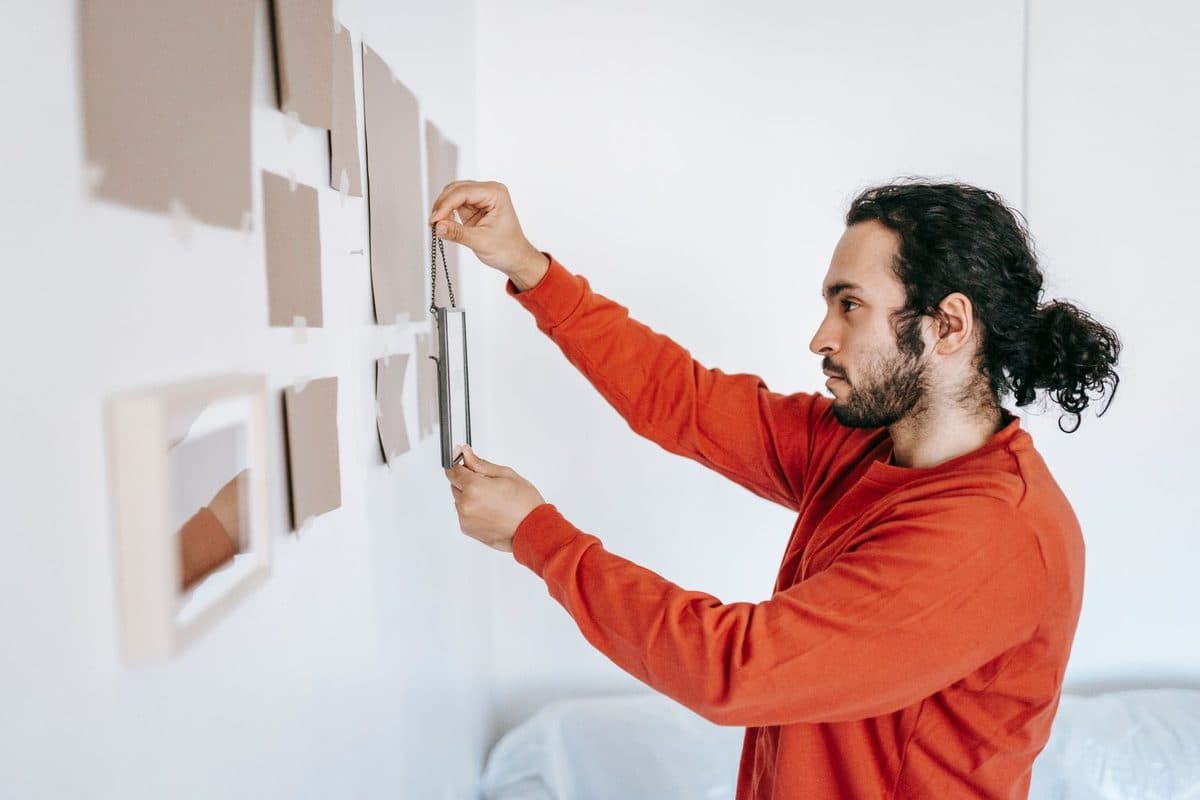
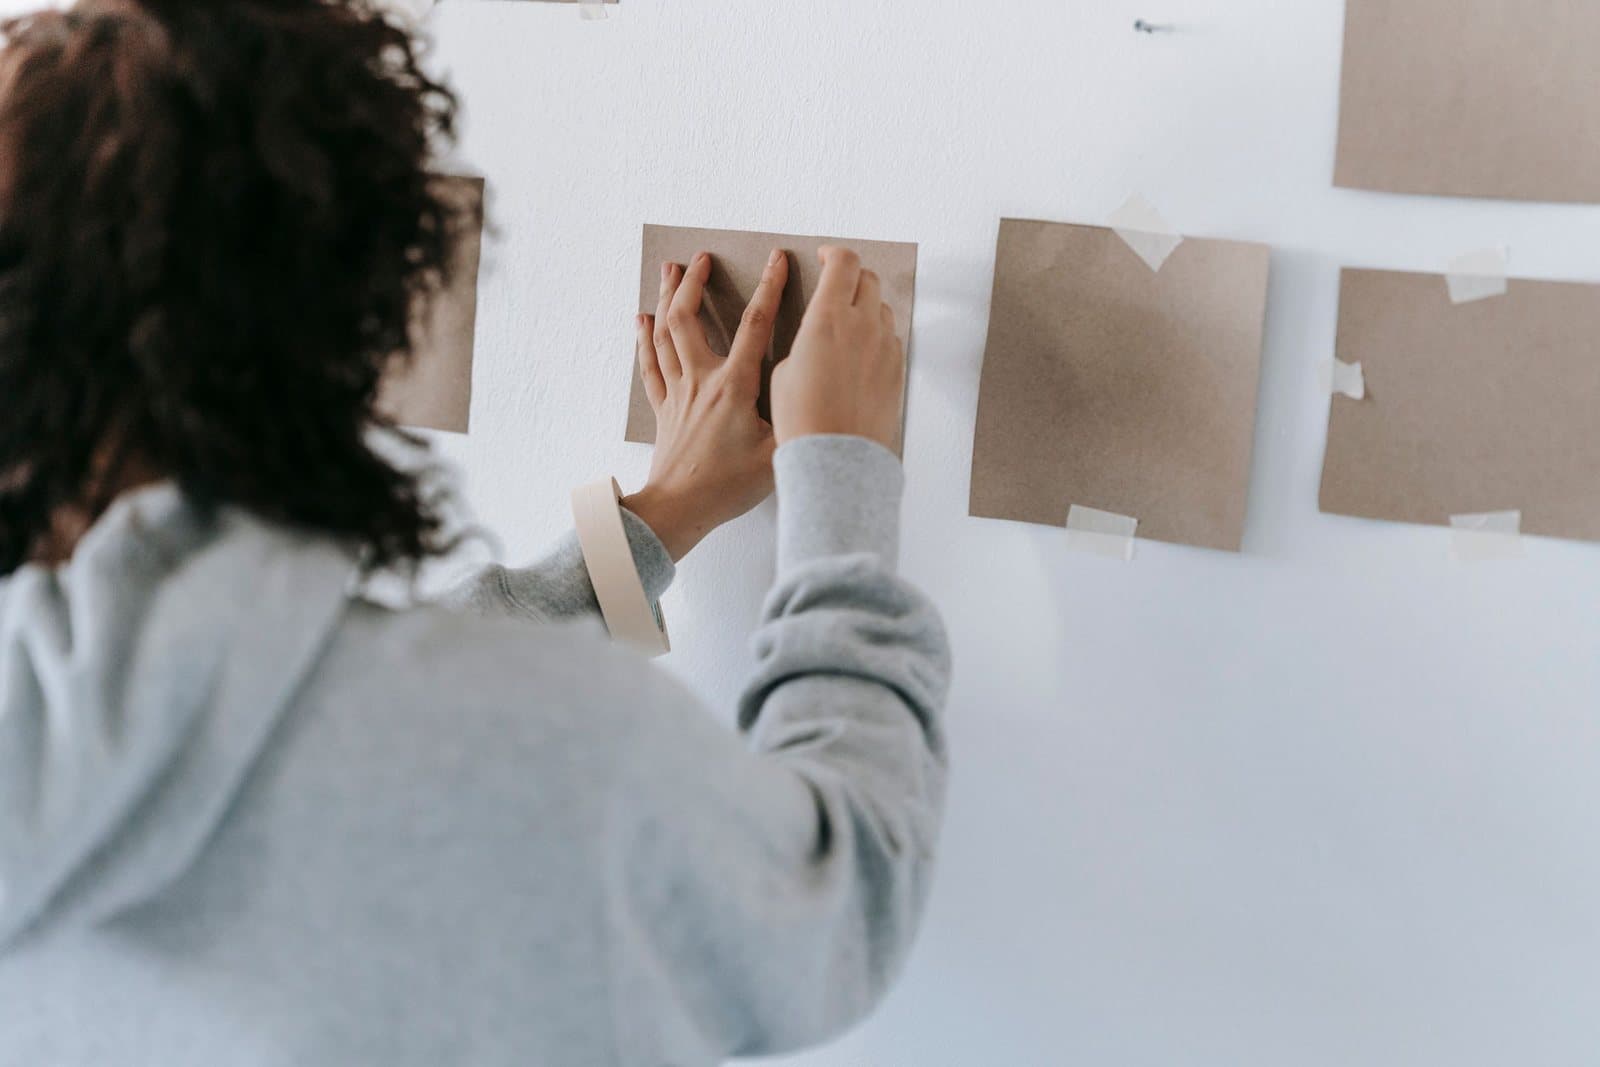
With candidate sizes in mind, outline the exact footprint on the wall with painter’s tape — the full rectangle, corners square, at the position and height where the piece would hang, furniture in place. Tape the finished footprint: for a framed piece, that is the outside of the frame, not the image size on the listing; a matted, framed print finishes several inches wider and taller than its image. Then look from the doorway, look from where you sit, and leave the tape up through a full day of ordinary life. Size errors announce themselves by lamplight that were invisible at noon, and at tape stage every correction is free.
Step four: photograph it to scale
A photograph flattens the politeness you extend to your own rooms — proportions that “seem fine” in person confess themselves on a screen. Make the photo quantitative by including one object of known size in the frame, and the tape rectangle becomes measurable. Example: a standard interior door is 80 inches tall; in your photo the door spans 640 pixels and the taped rectangle spans 300 pixels wide. The scale falls out directly: 300 ÷ 640 × 80 = 37.5 inches — that is the rectangle’s true width, read off a picture taken on your phone. Shoot straight-on, from as far back as the room allows, lens at the wall’s mid-height; a doorway, a window sash, or the sofa itself can all serve as the known reference when no door is in frame.
Measure the arrangement, not just the piece
If the wall will hold a group, the measuring unit is the group’s total footprint: pieces plus the gaps between them, counted once, as one rectangle. Four 16-inch-wide pieces with three 3-inch gaps total 4 × 16 + 3 × 3 = 73 inches of width — against the worked example’s 100 usable inches, 73 percent, right at the top of the fill band, which on paper takes ten seconds to discover and on a wall takes an afternoon of regret. Measure the group’s height the same way, top of the highest piece to bottom of the lowest, gaps included, and run the vertical check: center (58 inches) plus half the group height must clear the ceiling with trim to spare. A 40-inch-tall group centered at 58 tops out at 78 — comfortable under a 96-inch ceiling, impossible under a sloping one, and the tape measure knows which before you do. Once the group’s footprint is known, gallery wall layouts — grid, salon, and asymmetric — decide how the pieces fill it.
Step five: write down numbers that help
Measuring only pays if the numbers survive the trip to the store or the browser tab. One index card or phone note per wall, in this shape:
- Wall: full width, usable width, ceiling height.
- Furniture: width and top height of the piece the art belongs to — a 60-inch-wide bedroom dresser, a 35-inch-high sofa back.
- Obstructions, measured from the nearest corner: outlets, switches, thermostats, vents — with their heights.
- The target: center height (57 to 60 inches on a bare wall; 6 to 10 inches above furniture otherwise) and the candidate footprint, width by height.
Obstructions deserve the emphasis. An outlet 18 inches from a corner is trivia until the perfect piece wants to hang centered exactly over it; on paper, it is a two-line note that moves a purchase by six inches instead of ruining it. Add two obstructions people forget until the ladder is out: radiators and baseboard heaters, whose heat wants clearance below any art and whose tops act as accidental shelves that change where a bottom edge can sit; and the swing of doors — a door that opens against the wall gives that stretch of wall a permanent argument, and the tape outline should be checked with the door at its full swing, not at rest.
How to measure a wall for art: shortcuts that corrupt numbers
Four, reliably. Measuring wall-to-wall and ordering against the big number. Measuring a room while its furniture is mid-move or still imaginary — measure the furniture that will actually be there, in the position it will actually occupy. Measuring a framed candidate by its image size. And measuring alone, at speed, in decimals of a mood. Fifteen unhurried minutes, a second pair of eyes, and a written card turn art buying from estimation into specification — which is why the readers who write us about sizing almost always turn out to be readers who skipped this page. When a number still will not settle, our FAQ answers the questions about how to measure a wall for art that come up most; and when the card is filled in, the catalog can be browsed by the sizes on it — the wall has already told you what it needs.
More in How-To: Sizing, Hanging & Arranging
Continue exploring: How-To: Sizing, Hanging & Arranging guides · All guides