

How Canvas Prints Are Made, Step by Step
From file check to final inspection, each small step leaves its mark. Seeing the sequence helps explain why the same image can last or disappoint.
Key Takeaways
- It starts with a file check, not printing: enough pixels for the size ordered, a crop that has not cut anything important, and problems like heavy compression artifacts, noise from a dark photo, and a horizon a degree off level are looked for before printing magnifies them.
- Printing uses a wide-format inkjet on cotton or cotton-polyester canvas with an inkjet coating so droplets sit where they land, and pigment-based inks are the norm for prints meant to last because the color sits in solid particles and resists fading better.
- Stretching is where hand skill matters most: canvas is pulled centers first, working outward, to even tension and stapled along the back, with the diagonals checked so a properly stretched piece measures the same corner to corner both ways.
- A clear protective coat after printing adds a degree of UV protection, helps the surface resist moisture from an occasional careful wipe and scuffs and fingerprints, and sets whether the finish is matte, satin, or gloss.
- Corners should be tucked into a neat diagonal fold with no lump and no cut edge showing, and a final inspection under good light checks the surface, corners, back, and that the picture, size, and wrap match the order.
A finished canvas print looks simple — an image wrapped around a wooden frame, ready for the wall — but between the digital file and that object sits a chain of distinct steps, each done by a different tool and each capable of being done carefully or carelessly. Knowing the chain is useful even if you never stretch a canvas yourself: it tells you where quality is actually decided, and it explains why two prints of the same image can age very differently. This is how canvas prints are made.
How canvas prints are made: it starts with a file
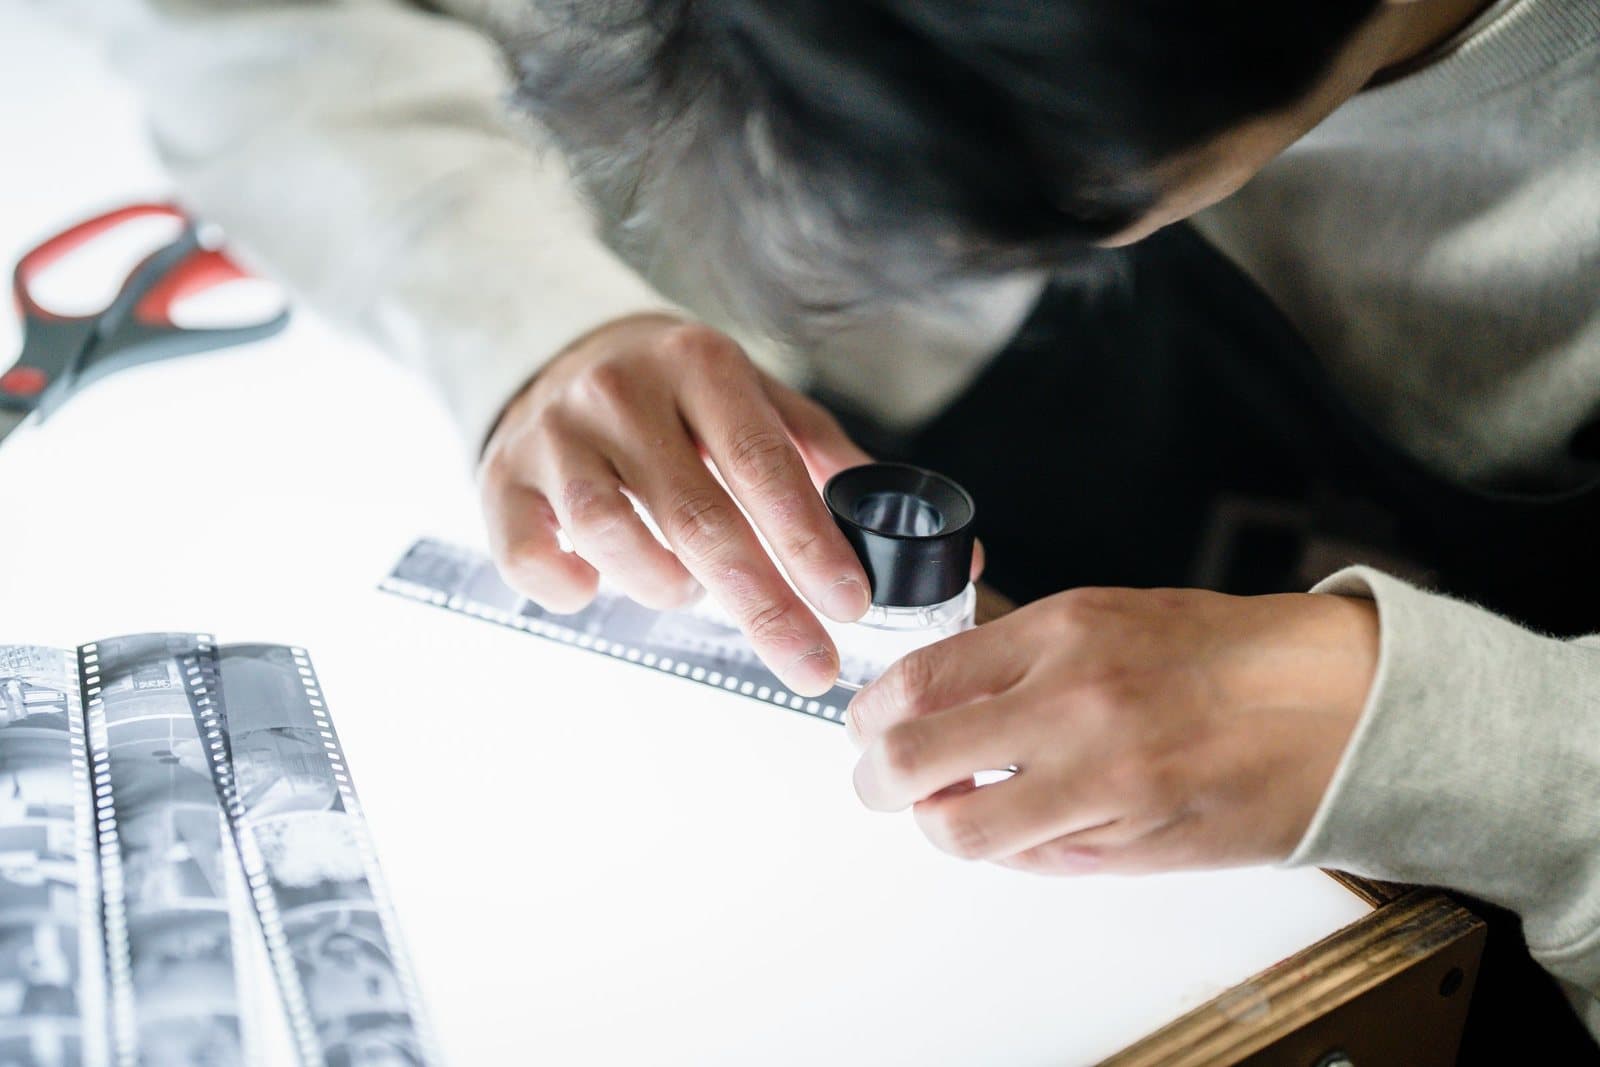
Before anything is printed, the image file is checked and prepared. The shop confirms the file has enough pixels for the size ordered, checks that the crop the customer chose has not cut anything important, and looks for problems that printing would only magnify: heavy compression artifacts, noise from a dark photo, a horizon a degree off level. Color is converted into the printer’s working space, and a decision is made about the edges — whether the image wraps around the sides as-is, mirrors itself at the border, or gives way to a solid color. None of this is visible in the finished piece, and all of it shows.
The canvas before the ink
The fabric itself is manufactured long before any single print is made, and it is worth a moment because two of its properties follow your print home. The weave — how tightly the threads are packed and how pronounced their texture is — decides how the finished surface reads: a fine, tight weave nearly disappears under a photograph, while a coarser weave lends a painting-like grain that some images wear beautifully and detailed images wear badly. The weight of the fabric matters too, because a heavier canvas holds tension more patiently over the years. And the receiver coating is applied at the factory, not the print shop: a roll of inkjet canvas arrives ready to take ink, which is why print shops speak of canvas the way paper makers do — by brand, weight, and finish.
Printing: ink laid into a woven surface
A canvas print is made on a wide-format inkjet printer — the same broad technology as a home printer, at a very different scale and precision. The canvas itself is a woven fabric, usually a cotton or cotton-polyester blend, prepared with a smooth inkjet coating (sometimes called a gesso or receiver layer) so droplets sit where they land instead of soaking in and feathering. The print head passes back and forth, laying down microscopic droplets of ink in overlapping passes until the full image builds up. Pigment-based inks are the norm for prints meant to last: the color sits in solid particles rather than dissolved dye, which is one reason they resist fading better — one of the things the term giclee is supposed to stand for. When the print comes off the roll it is left to dry and cure — handled too soon, a fresh surface can mark.
How canvas prints are made: proofing

Between printing and finishing, careful shops insert a check that costs them time and saves them remakes. A screen is a lying witness — it glows, it is backlit, and its colors are not the printer’s colors — so the operator compares the fresh print against the file under standardized lighting, looking for the classic failures: shadows that have plugged up into black, skin tones that have drifted orange, a saturated color the ink set simply cannot reach, which has to be coaxed rather than forced. For a one-off order the check is usually visual and quick; for anything large or costly, a small test strip or a reduced proof print is cheaper than a full reprint. This unglamorous pause in the chain is where a great deal of what people call print quality is quietly won or lost.
The protective coat
Most canvas prints receive a clear coat after printing — sprayed or rolled on in a thin, even layer. The coat does several quiet jobs at once: it adds a degree of UV protection, it makes the surface resistant to the moisture of an occasional careful wipe, and it protects the ink layer from scuffs and fingerprints during handling. The finish level — matte, satin, or gloss — is set here too, which is why the same image can look flatter or richer depending on the shop. An uncoated print is not necessarily a bad print, but it is a more fragile one, and the surface will tell you so within a few years of dusty shelves.
The frame you never see
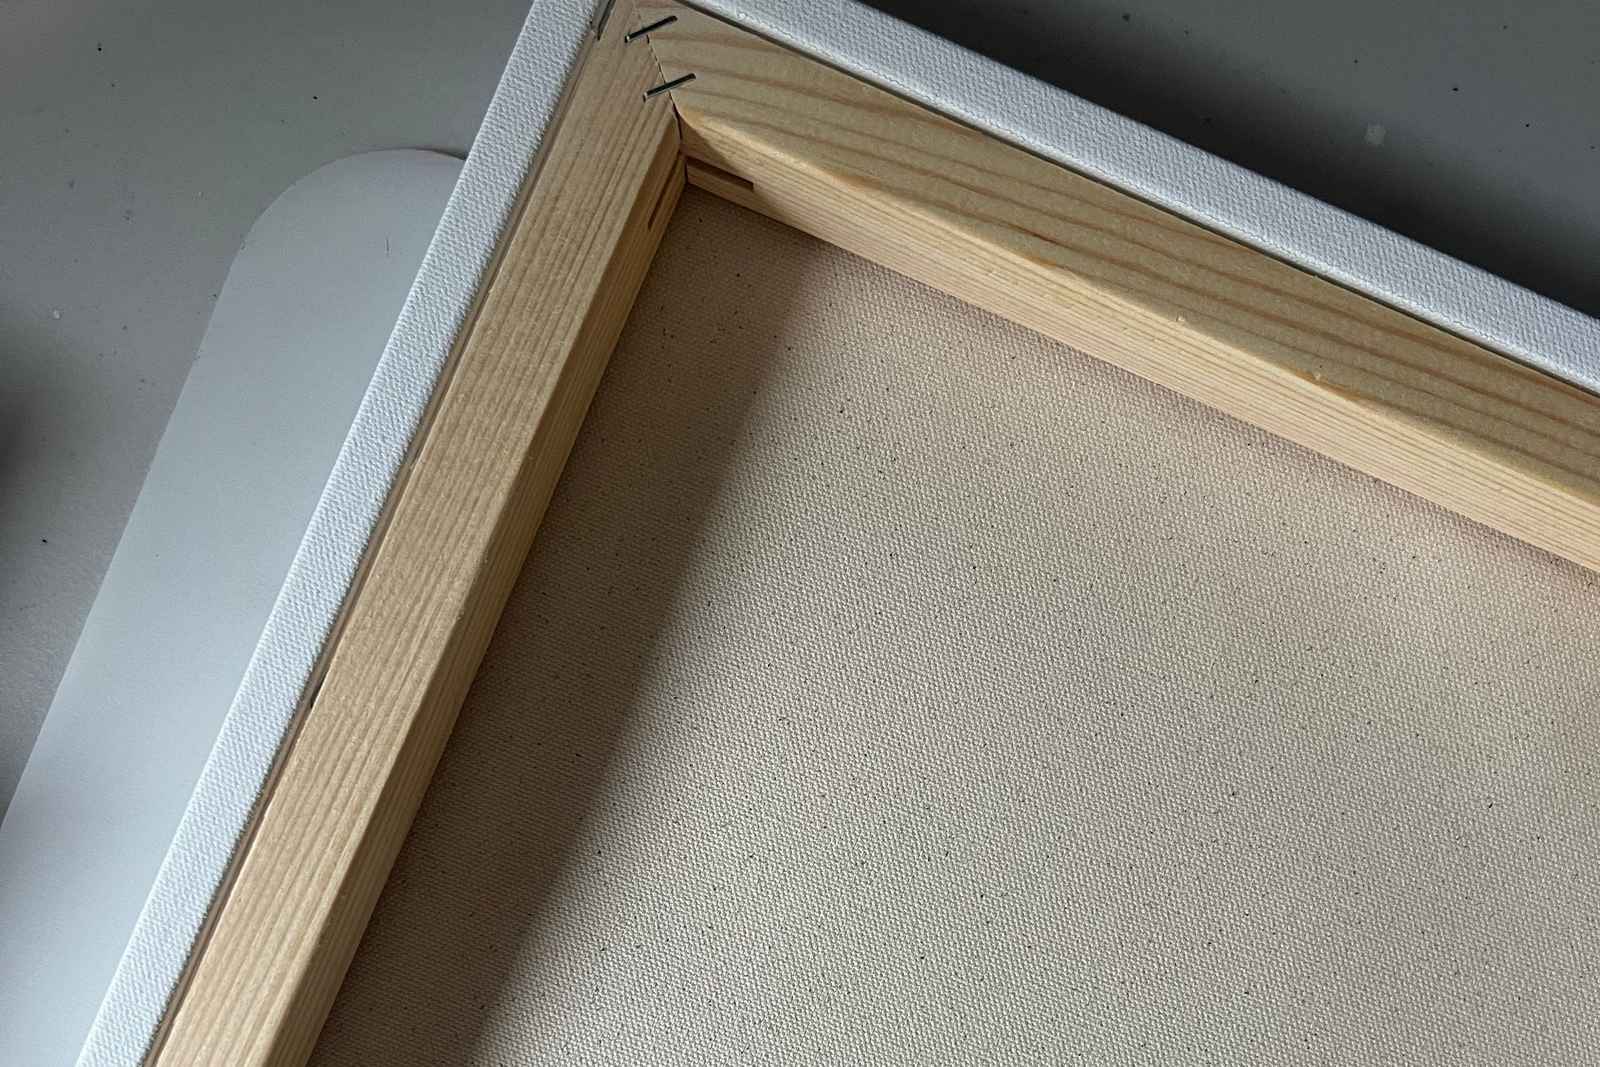
While the print cures, the stretcher frame is built. Stretcher bars are milled with a rounded or beveled outer edge — that profile matters, because canvas pulled over a sharp corner wears and cracks along the fold. Kiln-dried wood is the standard material: drying the wood in a kiln brings its moisture down to a stable level so the finished frame is far less likely to twist or bow as the seasons change in your home. Bars are joined at the corners, and larger pieces get cross-braces so the long sides cannot flex inward under the canvas’s tension. The depth of the bars — commonly around three-quarters of an inch to an inch and a half — is what gives a gallery-wrapped piece its presence on the wall; how gallery wrapping works is covered from the basics in our introduction to the format.
Stretching: where the craft actually lives
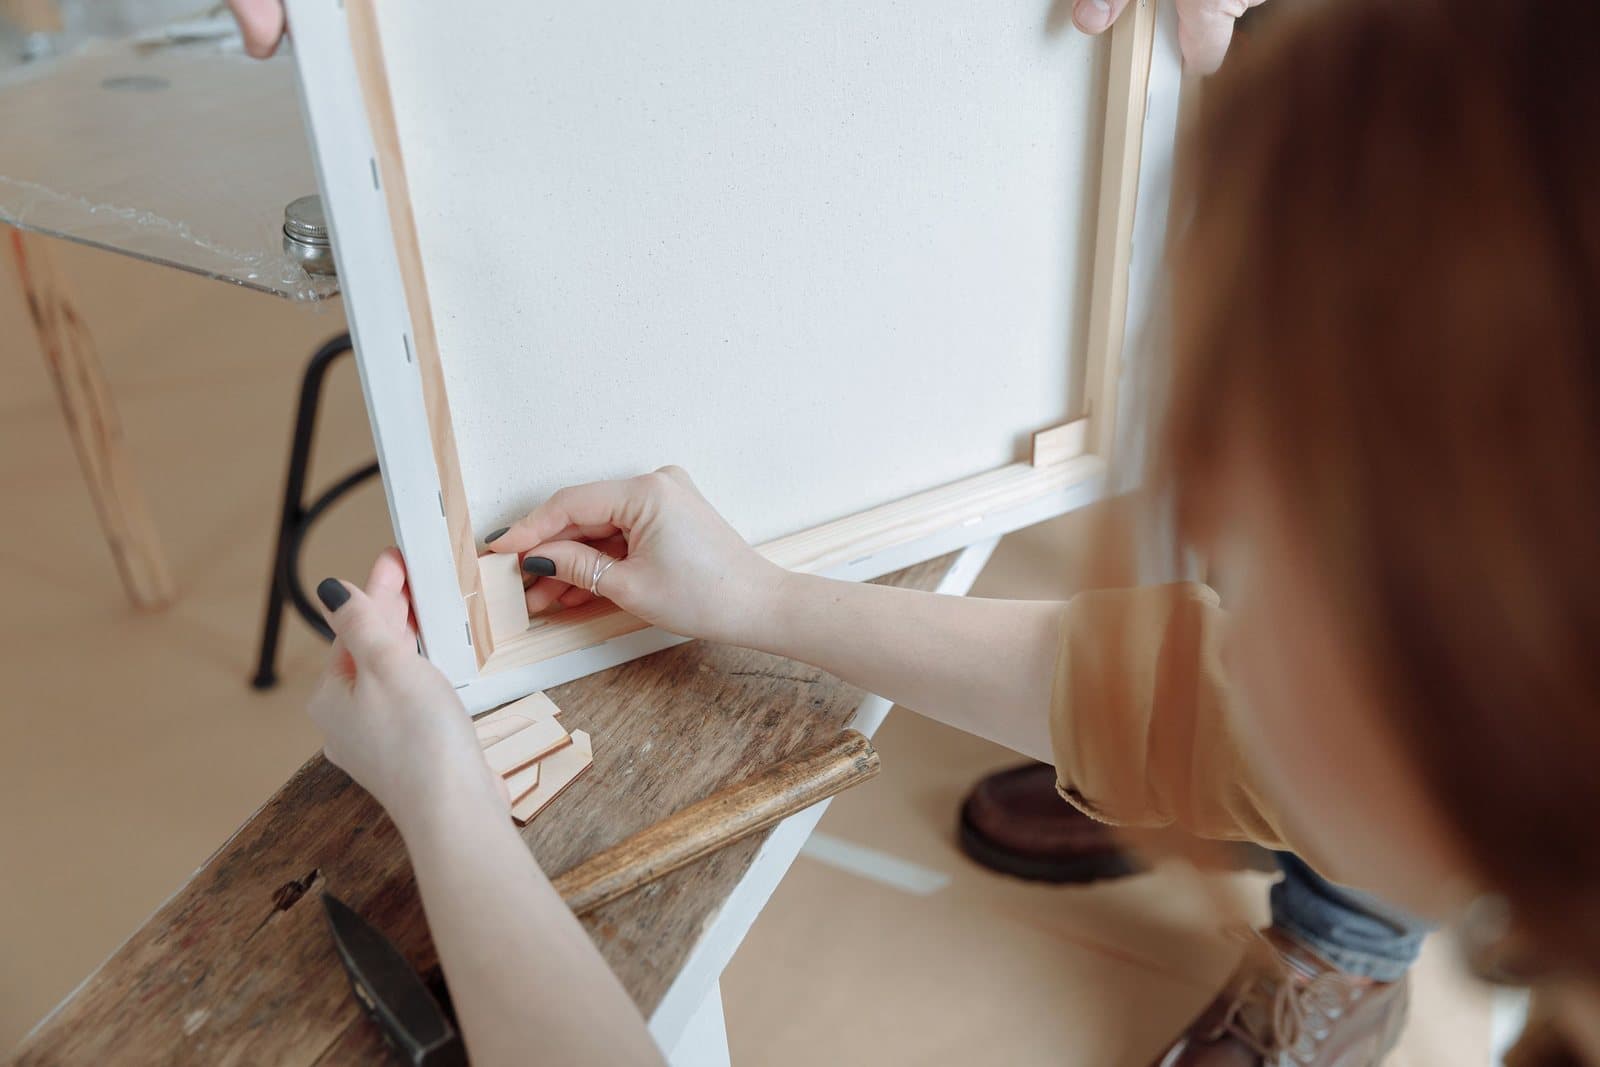
Stretching is the one step that still rewards hand skill over machinery. The printed canvas is laid face down, the frame centered on it, and the fabric is pulled over the edges in a set order — centers first, working outward — with canvas pliers that grip and lever the fabric to an even tension. Too loose and the surface drums and sags; uneven and the image skews, with straight lines in the picture drifting off parallel to the frame. As each side is secured with staples along the back, the stretcher checks the diagonals: a properly stretched piece measures the same corner to corner both ways, which is how you know it is square. Machines assist in high-volume shops, but the judgment — how much tension, when to stop — stays human.
Folding the corners
The corners are where a stretched canvas declares its maker. The excess fabric has to go somewhere, and the tidy solution is a folded corner: the fabric is tucked into a neat diagonal fold, like the corner of a made bed, so the front and sides stay smooth with no lump and no cut edge showing. It takes a few extra seconds per corner, and it is the step most often rushed. A corner that is cut and overlapped instead can look acceptable on day one, but the fold is under constant tension and is the first place a poorly finished piece begins to lift.
The back, the hardware, and the last look
Finishing happens on the back. Staples are covered — sometimes with tape, sometimes with a dust-cover backing — partly for looks and partly so nothing rough touches your wall. Hanging hardware is attached: wire on eye screws, a sawtooth bracket, or another fitting, positioned so the piece hangs level rather than pulling to one side. Then comes the step that separates careful shops from fast ones: a final inspection under good light, checking the surface for dust nibs trapped in the coat, the corners for lifts, the back for stray staples, and the image against the order — right picture, right size, right wrap. Only then is the piece wrapped for shipping, with the corners protected, because corners are what transit damages first.
Every step above is ordinary, and none of it is exotic — which is exactly the point. How canvas prints are made is a chain of small decisions, and the difference between a keepsake and a disappointment is rarely one big secret; it is whether each small step got its few seconds of care. If you want the buyer’s version of this chain — what to check when a print arrives — the pillar guide in this cluster, on what makes a quality canvas print, walks the same process from the other side. And if you are wondering who we are while we build our own shop, the about page and the shop explain where Canvas Tiger stands.
More in Care & Print-Craft Quality
Continue exploring: Care & Print-Craft Quality guides · All guides